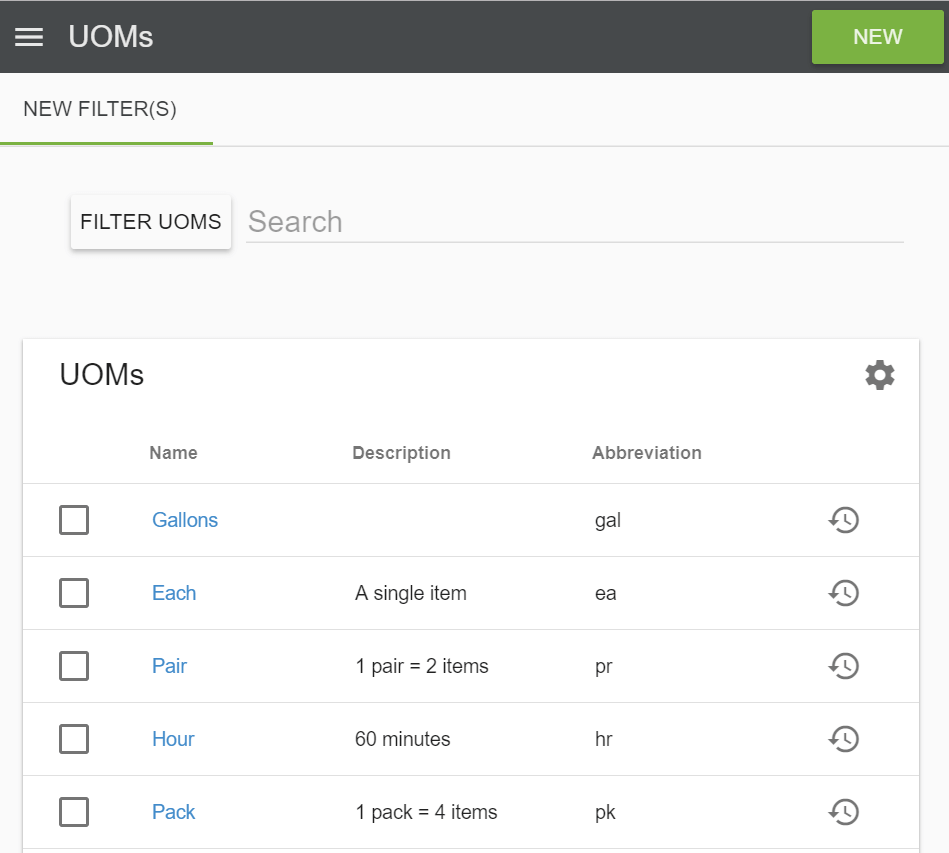
Units of Measure
The Units of Measure module stores the units of measure used in Boxstorm. In the Units of Measure module you can create new UOMs, edit existing UOMs, create a Filter Search, set up UOM conversions, and view an action history.
Creating a Unit of Measure
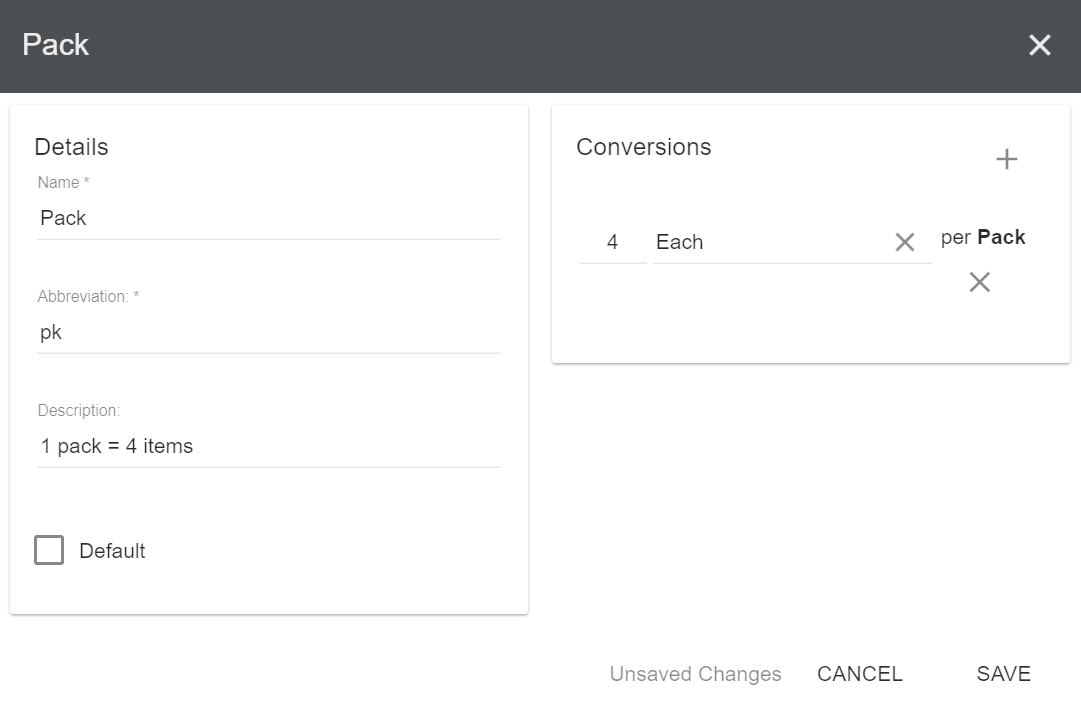
To create a Unit of Measure (UOM), click the New button. Required fields are marked with an asterisk. (Name and abbreviation are required.) The UOM that is marked as default will be used when creating new items. Conversions may also be added here. However, to create a conversion, both of the UOMs must already exist in Boxstorm.

Conversions
1. Conversions describe the quantity represented by a unit of measure. By default, items will use the conversion entered here, but each item can be customized individually in the Items module if desired.
2. To create a new conversion, click the![]() button in the
Conversions box. Enter the quantity and conversion UOM.
button in the
Conversions box. Enter the quantity and conversion UOM.
3. Conversions can be adjusted on an individual item basis within the Items module.

Search
To quickly find a Unit of Measure, start typing in the Search field. A Search may be done by Name, Description, or Abbreviation. Click a result in the list to open it.
Filter
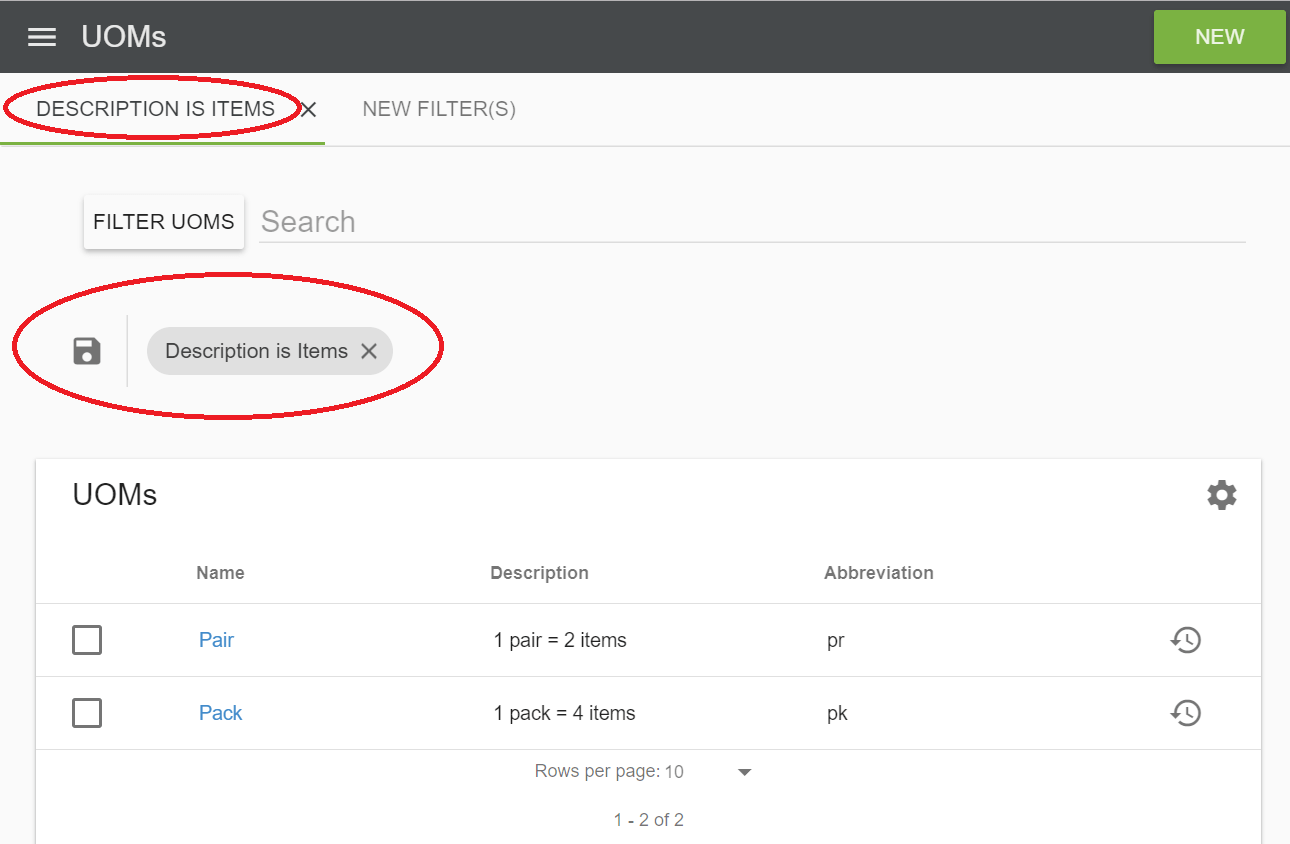
1. To perform a more advanced search, click Filter UOMs next to the Search field. This will show the option to filter by Abbreviation, Active Status (active or deleted), Description, or Name. Choose the filter and then click Apply.
2. To
save a filter so it can be quickly used at a future time, click the
![]() Save button next to your filter. After providing a name, the filter will then appear in the upper left hand corner
of the module where it is ready for easy access.
Save button next to your filter. After providing a name, the filter will then appear in the upper left hand corner
of the module where it is ready for easy access.
3. To clear a current filter, click the New Filter(s) button at the top. To delete a filter, click the X next to the saved filter.
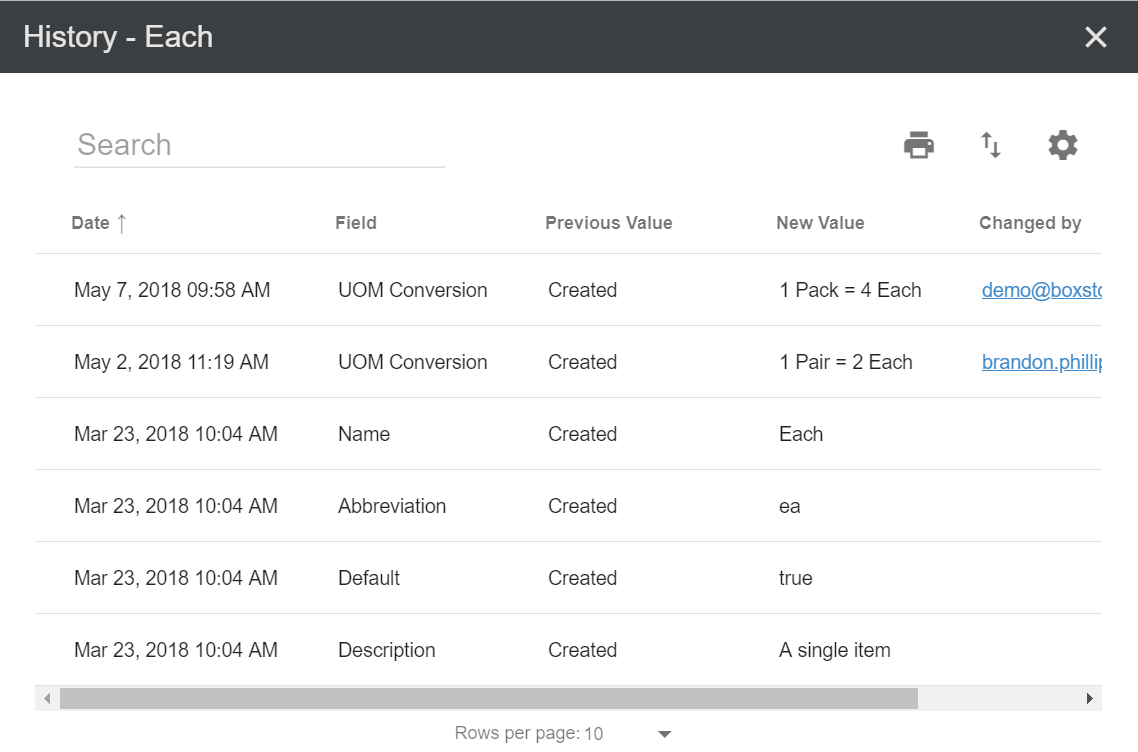
History
1. To see the history of a UOM, click the
![]() Show History button. A history of the item will be shown, and it can be filtered using the
Search field.
Show History button. A history of the item will be shown, and it can be filtered using the
Search field.
2. Click a column header to sort the table according to that column.
3. Click the
![]() Column Settings button to customize the columns that are visible.
Column Settings button to customize the columns that are visible.
4. Click the
![]() Print button to print the current view.
Print button to print the current view.
5. Click the![]() Export to CSV button to export the current view.
Export to CSV button to export the current view.