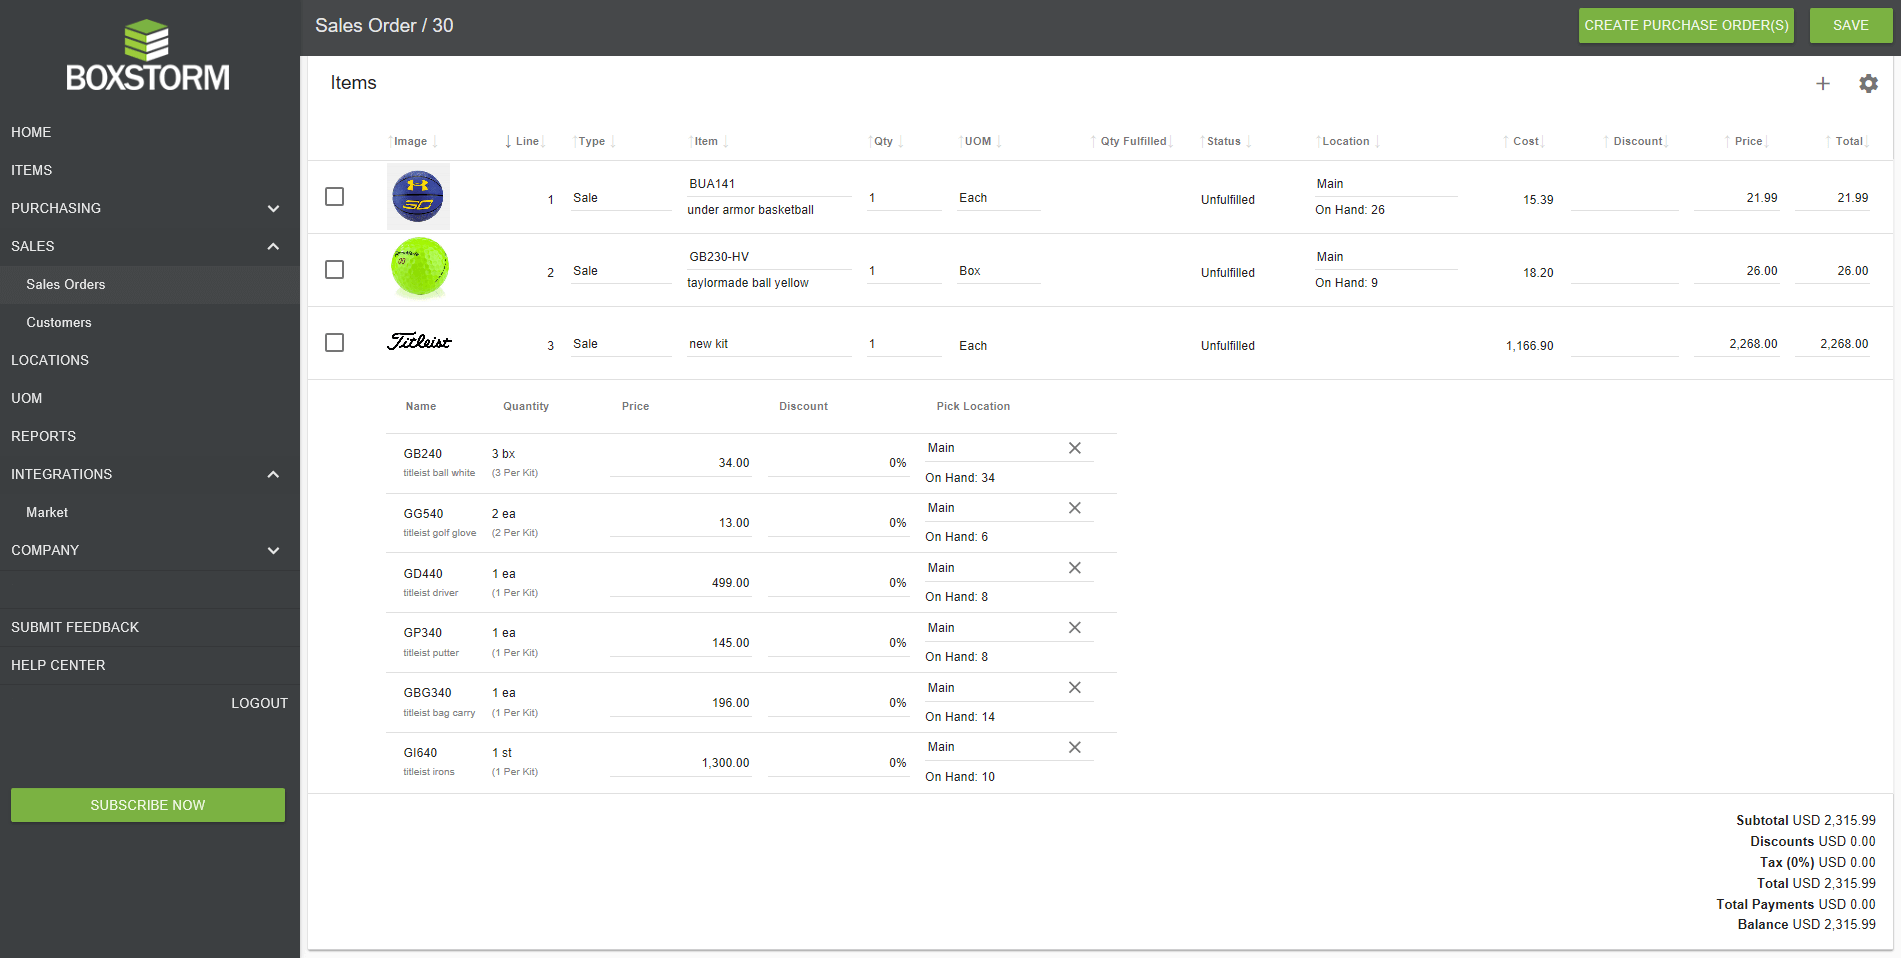
Kitting
Boxstorm has kitting functionality, which allows you to combine (bundle) your inventory items into a single unit for sale. By now you should already have your inventory in Boxstorm. You either inputted it manually or were able to import it using the CSV file template.
Setup for kitting is really quite easy. It follows the same approach you take when you manually add an item to your inventory.
1. From the Items module, click the NEW button in the top right-hand corner as if you are creating a new item for your inventory.
2. Once you have clicked the NEW button, you will see the Create a New Item window. Here you will input all the information needed for your kit, such as name, description, UPC (barcode), etc.
3. The NAME field is how you will identify the kit for your internal processes. That name, or number, may be the same as what your customers see. For that reason, it self-populates in the SALES field (sell as). If your internal tracking is different from what your customers will know the kit as, you may change it in the SALES field at this time.
4. In the TYPE field, you must select KIT from the dropdown menu.
5. There are other fields that you can modify now or return to later, such as the kit description, SKU, UPC, URL, default vendor, and kit price.
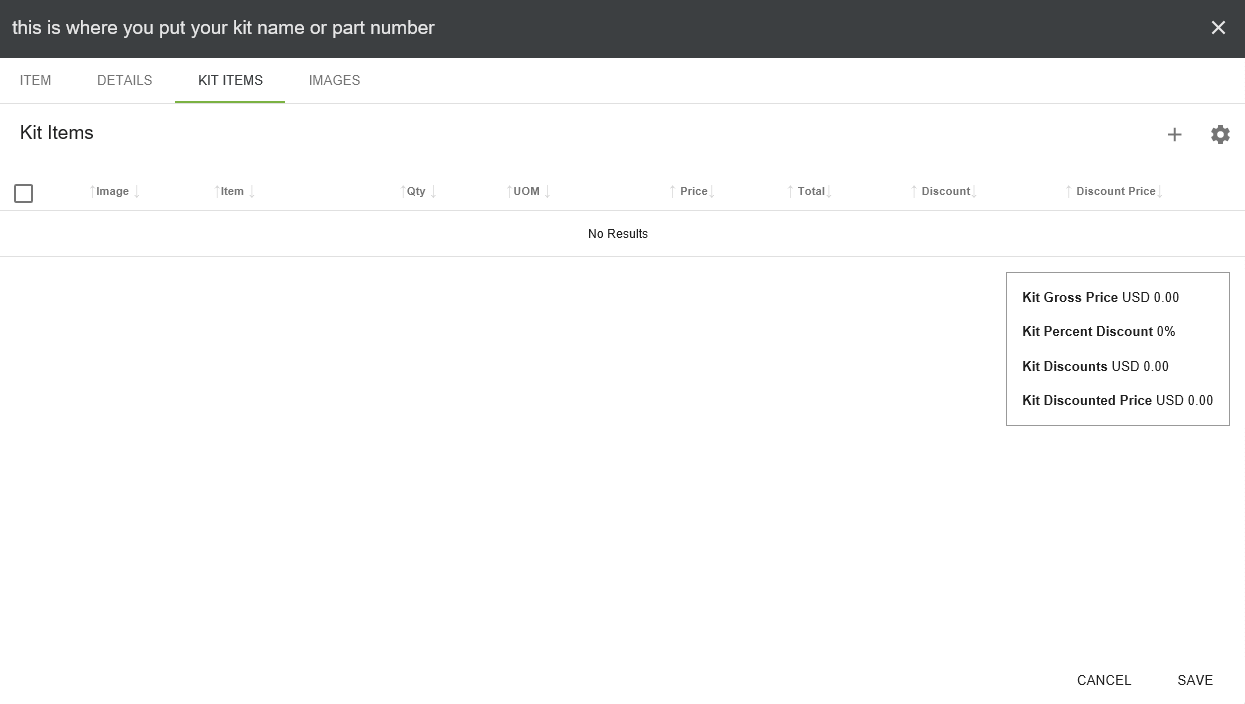
6. Once you have created a new kit, you must add items to it before you can save any changes you have made. To do so, select the KIT ITEMS tab at the top of the Create a New Item window.
7. In order to select inventory items for your kit, you must select the ADD KIT ITEM symbol on the top right of the window.
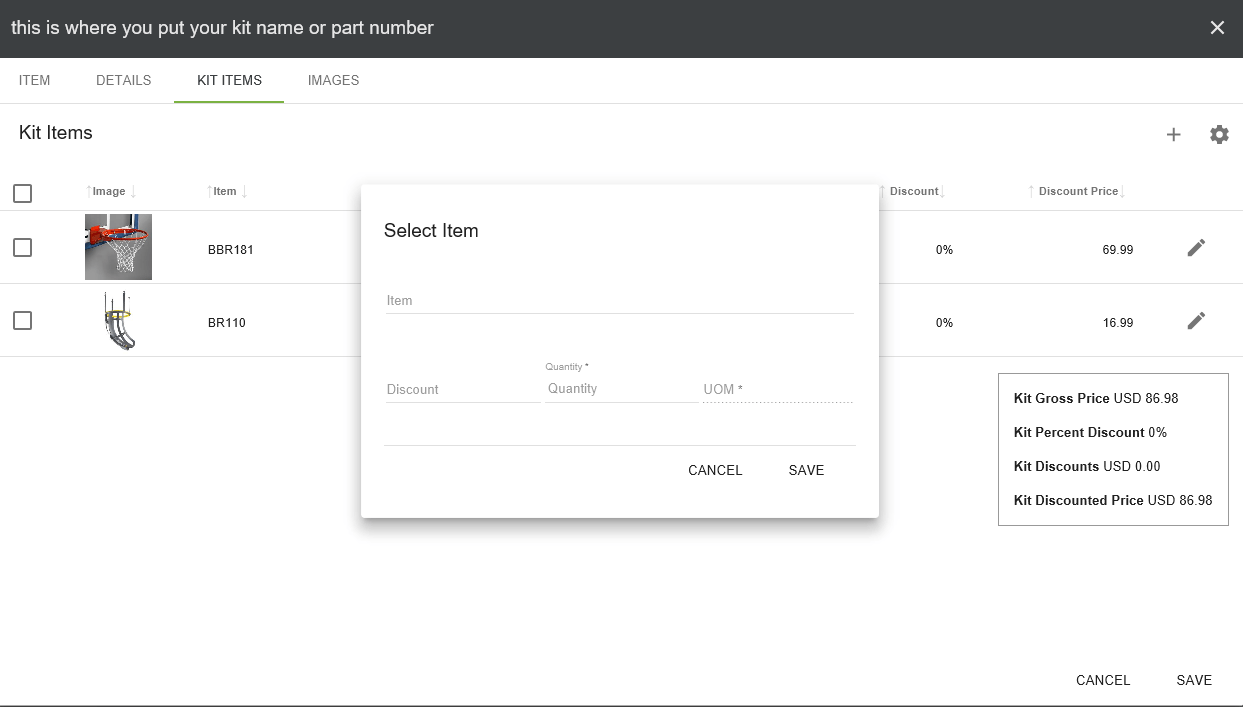
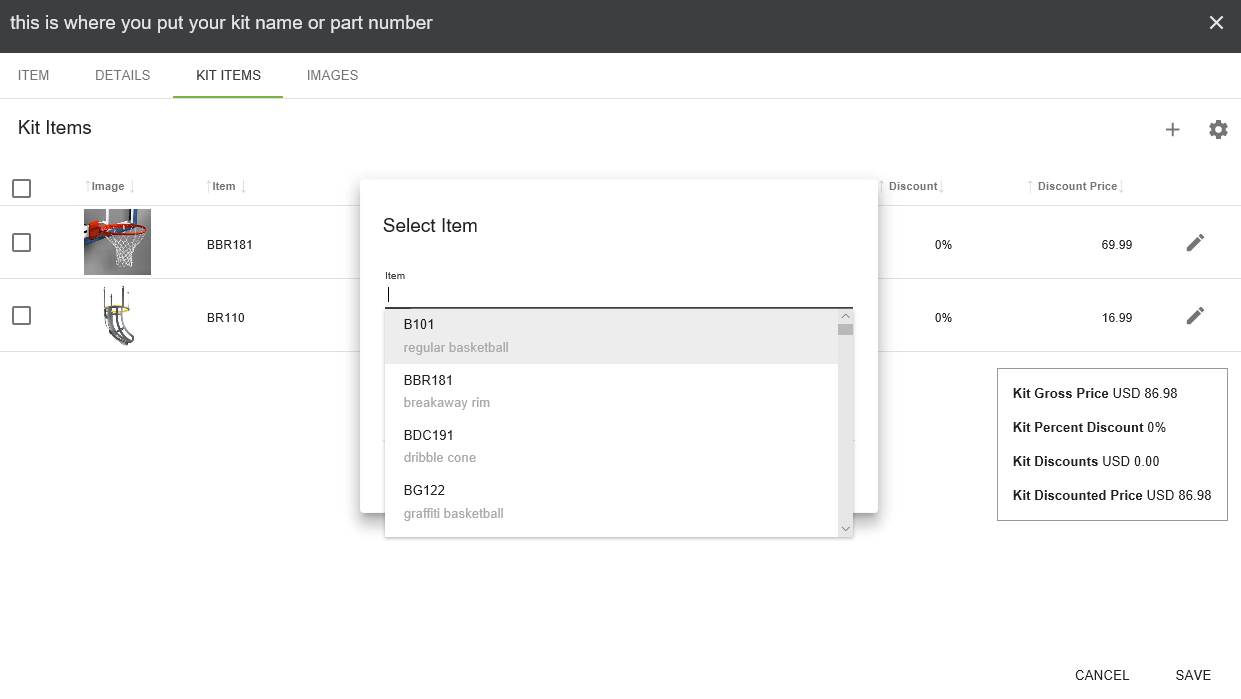
8. Once selected, the SELECT ITEM window opens, allowing you to choose the inventory item you wish to assign to the kit. NOTE: You may enter the item part number directly or scroll through the dropdown list that appears.
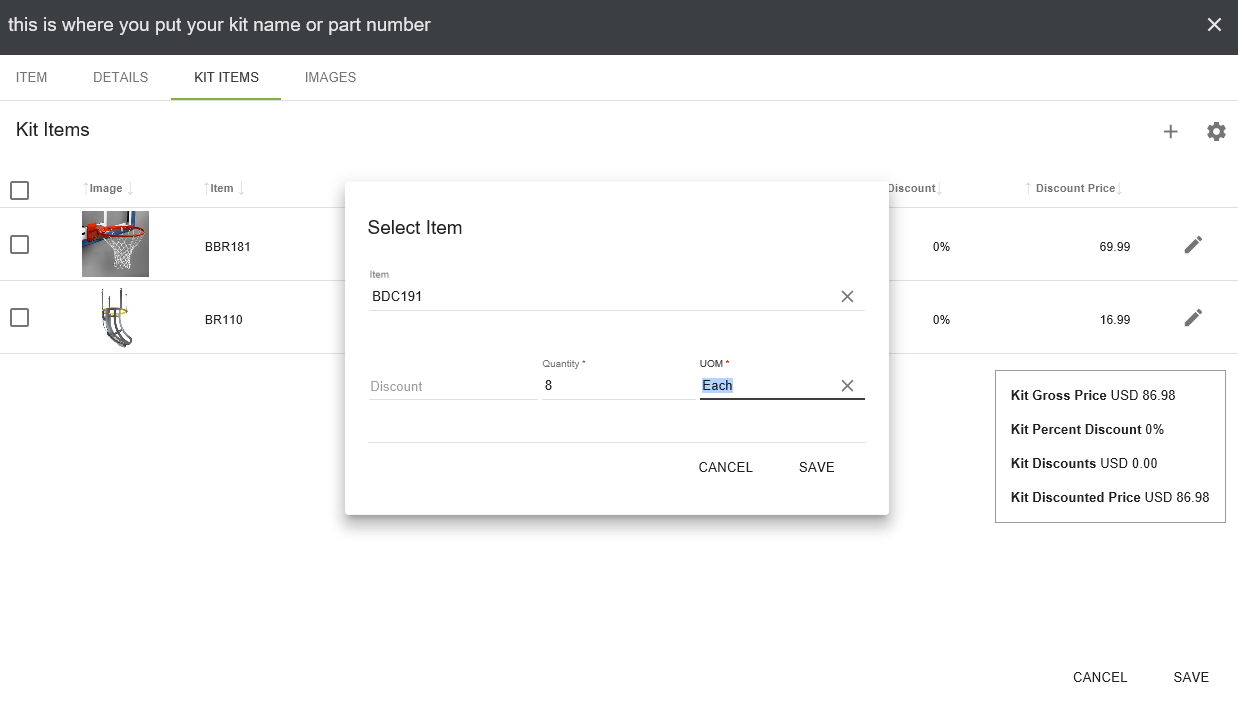
9. As you choose the inventory items, be sure to enter the quantity and unit of measure that will be contained within the kit. You can also determine a discount percentage to be applied to the individual items in the kit. The discounted price per item will be automatically calculated. Be sure to click SAVE after each item selection. This will build the list of inventory items you will provide for the kit.
10. Once you have chosen all your kitting items, click SAVE to finish creating your kit. Your kit will now appear as a single inventory item in the Items module. You can order your list alphabetically from the ITEM TYPE column, which will group all kits together from the rest of the inventory for easier reference.
11. The kit is now listed as a separate item in your inventory. You can go back and modify it to add an image, barcode, and other details, just as you have done with the other individual items in your inventory.
12. The inventory quantity for your kit is calculated from the lowest quantity on hand of the individual items. To increase the kit quantity, you will need to increase your on hand inventory of each item in the kit.


